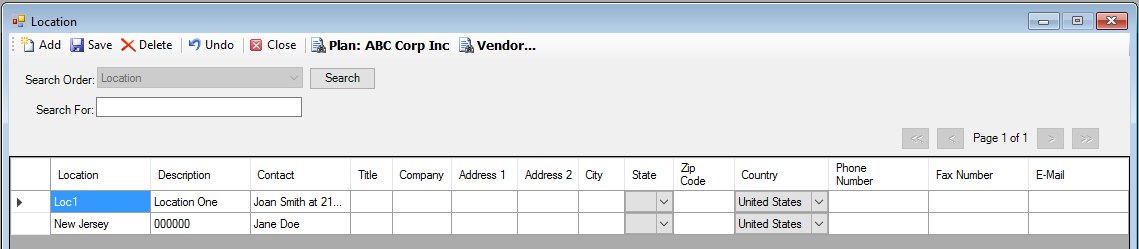
Location
You can enter your Plan location codes on the location window. Once these codes are set, you may assign Plan participants to each location code by selecting it on the Setup > Participants > Participant Plan Other Information - Other tab window.
The following options are impacted by the Location option:
· Eligibility rules can be defined for a location - Setup > Participants > Update Eligibility
· Contribution allocations can be run by location code -Transactions > Contributions > Profit Sharing Allocation
· Compliance processing can be run by location code - Reports > Compliance Processing > Run Tests > Run all Other Tests (404 tab)
· Earnings can be run by location code - Transactions > Earnings/Dividends/Forward Balance> Earning Allocation
· Dividends can be run by location code - Transactions > Earnings/Dividends/Forward Balance> Dividend Allocation
· Divisional Administrators may be assigned exclusively to a location code - Setup > System > User Security : Plan Sponsor (AdminDiv profile)
· Rebalance/Reallocation processing can be run by location code - Transactions > Transfers: Rebalance/Reallocation (Select the all participants option)
· Balance Forward
· Fees
How to Access the Location Screen
On the Setup menu, point to Plans and then click Location. The Location window displays.
How to Add a Location
1. Click the Add icon to enable the first row.
2. Enter the Location name. This is a required field.
3. Complete any of the following optional fields:
Description, Contact, Title, Company, Address 1, Address 2, City, State, Zip, Country, Phone Number, Fax Number, and E-Mail.
4. When you are done, click the Save icon. The following message displays:
Click OK.
How to Delete a Location
1. Highlight the record you want to delete.
2. Click the Delete icon. The following message displays:
Click Yes to delete the location, or No to retain it.
3. Click the Save icon to confirm the deletion. The following message displays:
Click OK.
4. When you are done, click the Close icon.
5. If you are deleting more than one Location record, repeat steps 1 and 2 for each. When you are done, proceed to steps 3 and 4.
How to Change a Pre-existing Location Record
1. Position the cursor in the field you want to change.
2. Click in the field with the left mouse button to highlight the text.
3. Enter the new text.
4. When you are done, click the Save icon. The following message displays:
Click OK.
5. Click OK to close the dialog box.
6. If you are editing more than one location, repeat steps 1 - 3 for each. When you are done, proceed to steps 4 and 5.
How to Undo a Location
If you have entered data and realize you want to revert to the original data, click the Undo button. Note: This works only if you have not yet clicked the Save icon.
The Location information reverts to the last time the Save icon was clicked.
Explanation of Fields
|
Field Name |
Field Description |
Required / Optional |
|
Location |
Enter the name of the location, maximum of 10 characters. |
Required |
|
Description |
Enter a description of the location, maximum of 25 characters. |
Optional |
|
Contact |
Enter the name of the contact for this Plan location, maximum of 50 characters. |
Optional |
|
Title |
Enter the contact's title, for example, President, maximum of 30 characters. |
Optional |
|
Company |
Enter the name of the company for this Plan location, maximum of 30 characters. |
Optional |
|
Address 1 |
Enter the address of the location, maximum of 30 characters. |
Optional |
|
Address 2 |
Enter a second line of address for the location, if necessary, maximum of 30 characters. |
Optional |
|
City |
Enter the city, maximum of 25 characters. |
Optional |
|
State |
Select the state from the list. |
Optional |
|
Zip Code |
Enter the zip code, maximum of 20 characters. |
Optional |
|
Country |
Select the country from the list. |
Optional |
|
Phone Number |
Enter the phone number, up to 14 characters. |
Optional |
|
Fax Number |
Enter the fax number, up to 14 characters. |
Optional |
|
|
Enter the contact's e-mail address, up to 50 characters. |
Optional |